
Step-by-Step Assembly Guide for Rental LED Wall & Rental LED Display | JunChen Display
2026-06-30
Table of Contents
- Preface: Why Standardized Assembly Matters for Rental LED Wall & Rental LED Display
- Pre-Assembly Preparation & Full Parts Checklist
- 6 Standard Assembly Steps for Indoor & Outdoor Rental LED Display
- Key Assembly Structure Advantages of JunChen Rental LED Wall Cabinets
- Assembly Differences: Indoor VS Outdoor Rental LED Display
- Post-Assembly Full Inspection & System Debugging
- Safe Teardown & Storage Standard Process
- FAQ About Rental LED Wall Assembly Operations
- Conclusion
1. Preface: Why Standardized Assembly Matters for Rental LED Wall & Rental LED Display
Rental LED Wall and Rental LED Display are widely used for concerts, exhibitions, corporate conferences and sports events. They require repeated assembly and disassembly across different venues. Unstandard splicing will cause screen gaps, signal flicker or unstable power supply, affecting display effect and shortening cabinet service life. All assembly rules in this guide are extracted from JunChen official product data of mainstream P2.604–P4.81 Rental LED Display and energy-saving Rental LED Wall series. Our die-cast aluminum fast-lock cabinet design greatly cuts assembly time and reduces labor cost for event rental teams.
2. Pre-Assembly Preparation & Full Parts Checklist
Complete inspection before site assembly to avoid missing accessories for Rental LED Wall and Rental LED Display.
Required Components
- Die-cast aluminum rental cabinets (500×500mm / 500×1000mm, 8kg single weight)
- Quick lock buckles, magnetic alignment connectors
- Waterproof power & signal aviation cables (IP65 for outdoor Rental LED Display)
- NovaStar sending & receiving control cards
- Ground support truss or hanging rigging frame
- Laser level, anti-static gloves, cable ties, surge protection power distributor
Pre-Inspection Work
- Check each cabinet for damaged lamp beads, loose modules or deformed frames
- Test power supply and receiving card individually
- Sort cables by length and mark input/output ports
- Measure venue ground/hanging position flatness with laser level
3. 6 Standard Assembly Steps for Indoor & Outdoor Rental LED Display
Step 1: Build Support Base Frame
Set up ground support truss or hanging rigging according to the size of the target Rental LED Wall. Use laser level to calibrate horizontal and vertical baseline to prevent tilting.
Step 2: Splice Bottom Row Cabinets First
Place the first layer of Rental LED Display cabinets on the frame, align male and female fast locks of adjacent cabinets, and snap magnetic connectors tightly without gaps. Two skilled workers can finish 10㎡ Rental LED Wall basic splicing within 30–60 minutes thanks to tool-free lock structure.
Step 3: Layer-by-Layer Vertical Splicing
Stack cabinets row by row, lock four-side quick buckles of every cabinet. All JunChen rental cabinets adopt 6-axis fine adjustment to control splicing gap below 0.5mm.
Step 4: Complete Power Cable Connection
Follow daisy-chain input-output rule; outdoor Rental LED Display must use fully sealed IP65 aviation plugs. Balance three-phase power load to avoid circuit tripping.
Step 5: Connect Signal Transmission Lines
Link cabinet receiving cards to the main sending card via CAT6 cables, reserve backup signal loop for large Rental LED Wall to prevent single cable failure.
Step 6: Waterproof Sealing (Outdoor Only)
Stick waterproof strips on all cabinet joints and cable interfaces for outdoor Rental LED Display to block rain and dust intrusion.
4. Key Assembly Structure Advantages of JunChen Rental LED Wall Cabinets
All structural data comes from official product pages of energy-saving, stage and outdoor Rental LED Wall covering full P2.604–P4.81 mainstream models.
- Lightweight Die-Cast Aluminum Cabinet Single cabinet only 8kg, easy to lift and stack during assembly, lowering labor intensity for rental teams.
- Integrated Fast Lock & Magnetic Alignment No extra screwdrivers needed; one-click locking ensures seamless splicing and improves assembly efficiency by over 50%.
- Front Service Module Design If dead pixels appear after assembly, technicians can take out modules from the front without dismantling the whole Rental LED Wall.
- IP65 Full Sealed Protection Outdoor Rental LED Display cabinets adopt integrated waterproof shell, stable operation under -20℃~60℃ temperature range after assembly.
- Intelligent Energy-Saving Circuit Low-power drive chips equipped inside cabinets; the assembled Rental LED Wall reduces overall power consumption by 30% compared with ordinary rental screens.
5. Assembly Differences: Indoor VS Outdoor Rental LED Display
| Assembly Item | Indoor Rental LED Display | Outdoor Rental LED Wall |
|---|---|---|
| Cable Standard | Ordinary RJ45 & power lines | IP65 waterproof aviation connectors |
| Additional Work | No waterproof treatment required | Joint waterproof sealing & drainage check |
| Brightness Calibration | 800–1500 nits preset | 4200–6000 nits high brightness adjustment |
| Safety Reinforcement | Ordinary ground support | Windproof tension ropes for high-rigging installation |
| Environment Check | Indoor temperature only | Check venue rainfall and sunlight intensity |
6. Post-Assembly Full Inspection & System Debugging
After finishing all splicing work of Rental LED Wall and Rental LED Display, perform 4 key inspection items before event opening.
- Flatness & Gap Check Walk front of the screen to observe all cabinet joints; adjust 6-axis fine tuner if visible gaps exist.
- Circuit Safety Test Power on in stages, check no overheating of cables and power distributors, confirm no leakage for outdoor equipment.
- Full-Screen Visual Debugging Set 3840Hz / 7680Hz high refresh rate on control system, calibrate color uniformity and brightness balance of the whole Rental LED Wall. Ensure no moiré patterns under camera shooting.
- Continuous Aging Test Run full-screen video loop for 30 minutes, inspect for black screens, flicker or dead pixel faults.
7. Safe Teardown & Storage Standard Process
Rental LED Wall and Rental LED Display need standardized disassembly to extend reusable service life.
Step 1: Cut off total power supply first, then pull out signal cables and power lines one by one.
Step 2: Unlock cabinet fast buckles from top layer downwards, separate each cabinet gently.
Step 3: Wipe cabinet surface dust and water stains, sort modules and accessories separately.
Step 4: Put cabinets into dedicated flight cases with corner anti-collision protection for transport and storage.
8. FAQ About Rental LED Wall Assembly Operations
Q1: How many workers are needed to assemble a 20㎡ Rental LED Wall?
A: Two professional technicians can complete all splicing and wiring within 2 hours with our fast-lock Rental LED Display cabinet design.
Q2: Can we assemble the Rental LED Display in rainy outdoor environments?
A: Temporary assembly under light rain is forbidden; finish waterproof sealing immediately after splicing if outdoor construction is unavoidable.
Q3: What if cabinet gaps appear after assembly?
A: Use the built-in six-way adjustment structure on the back of each cabinet to fine-tune flatness and eliminate visible seams.
Q4: Does the assembly sequence affect the signal stability of Rental LED Wall?
A: Yes. Strictly follow the IN-OUT daisy-chain wiring sequence; reverse connection will cause screen partial blackout.
Q5: Is front maintenance convenient after full Rental LED Wall assembly?
A: All our Rental LED Display supports magnetic front module removal without disassembling the whole screen frame.
9. Conclusion
Mastering standardized assembly workflow is the core skill for operating Rental LED Wall and Rental LED Display rental business. JunChen’s unified fast-lock die-cast aluminum cabinet series covering mainstream P2.604–P4.81 pitches greatly simplifies on-site splicing steps, saves time and labor costs for all kinds of event projects. Whether small indoor P2.604/P2.9 Rental LED Display or large outdoor P3.91/P4.81 concert Rental LED Wall, follow the 6-step assembly process in this article to guarantee seamless, stable display effects. We scan create custom design layouts tailored to your venue dimensions. Contact our sales team to view real completed project cases and acquire direct factory prices for all P2.604–P4.81 Rental LED Wall and Rental LED Display models.
JunChen Display COB Liftable All-in-one LED Display – 108/136 Inch Plug & Play Conference Screen
JunChen Display: 960×960 Energy Saving Outdoor LED Screen – High Durability Outdoor LED Display Cabinet
Related Article
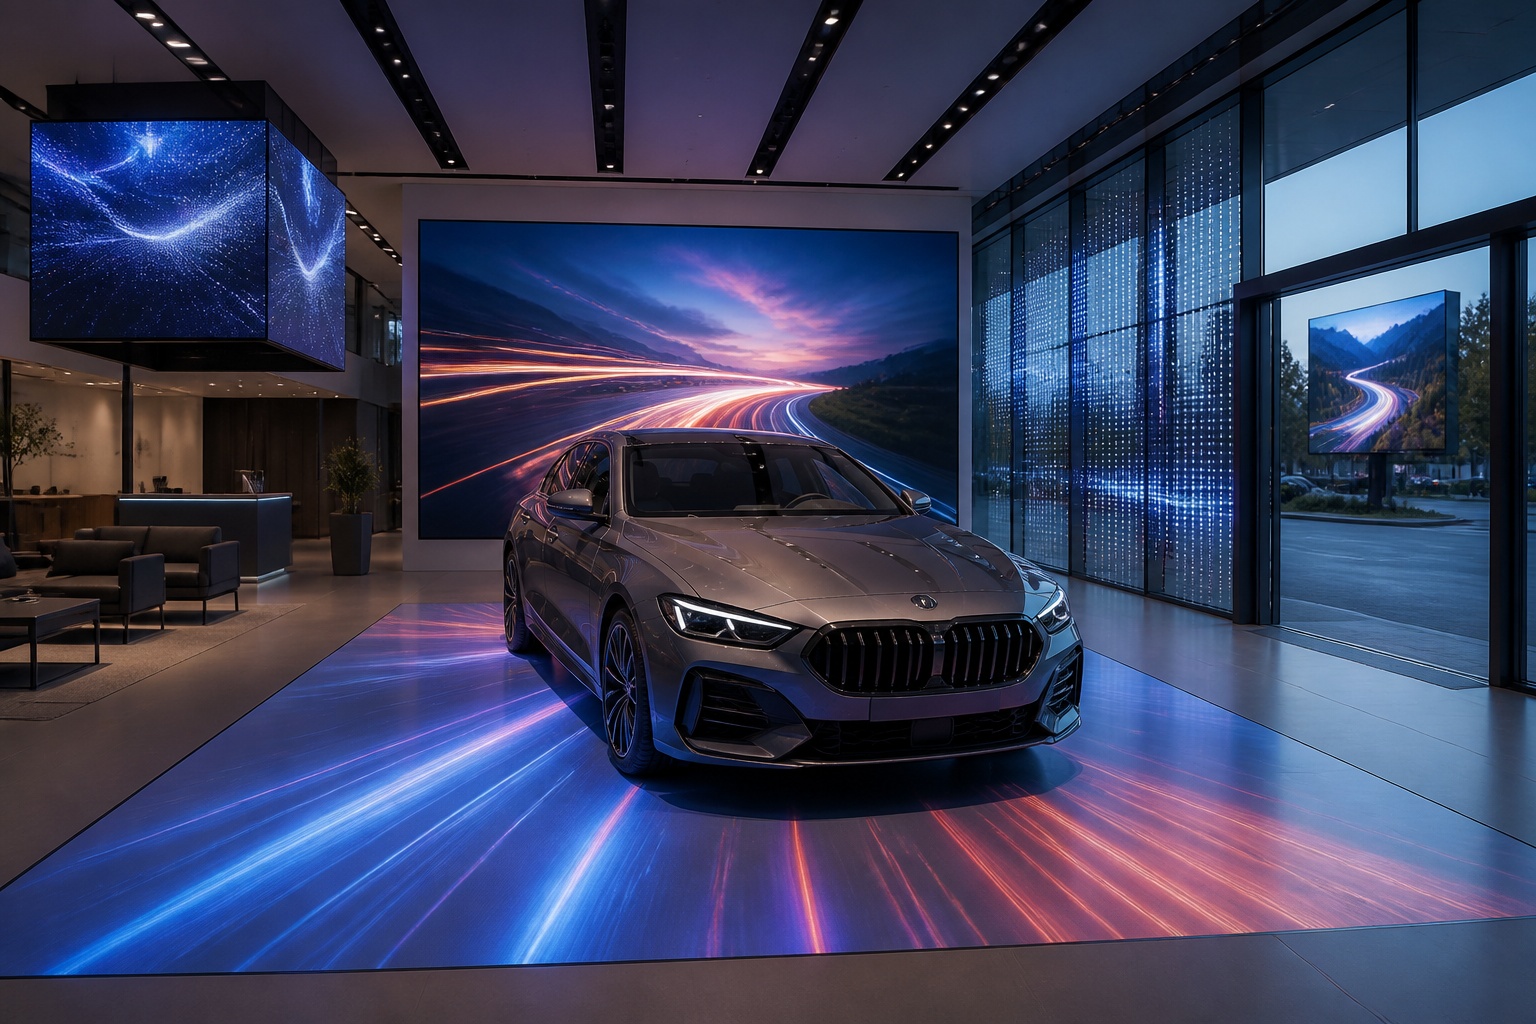
A B2B technical guide to selecting and combining fixed, floor, transparent, cube and other LED displays for automotive dealerships and 4S showrooms.
What LED Displays Can a 4S Dealership Use and How Should They Be Combined?
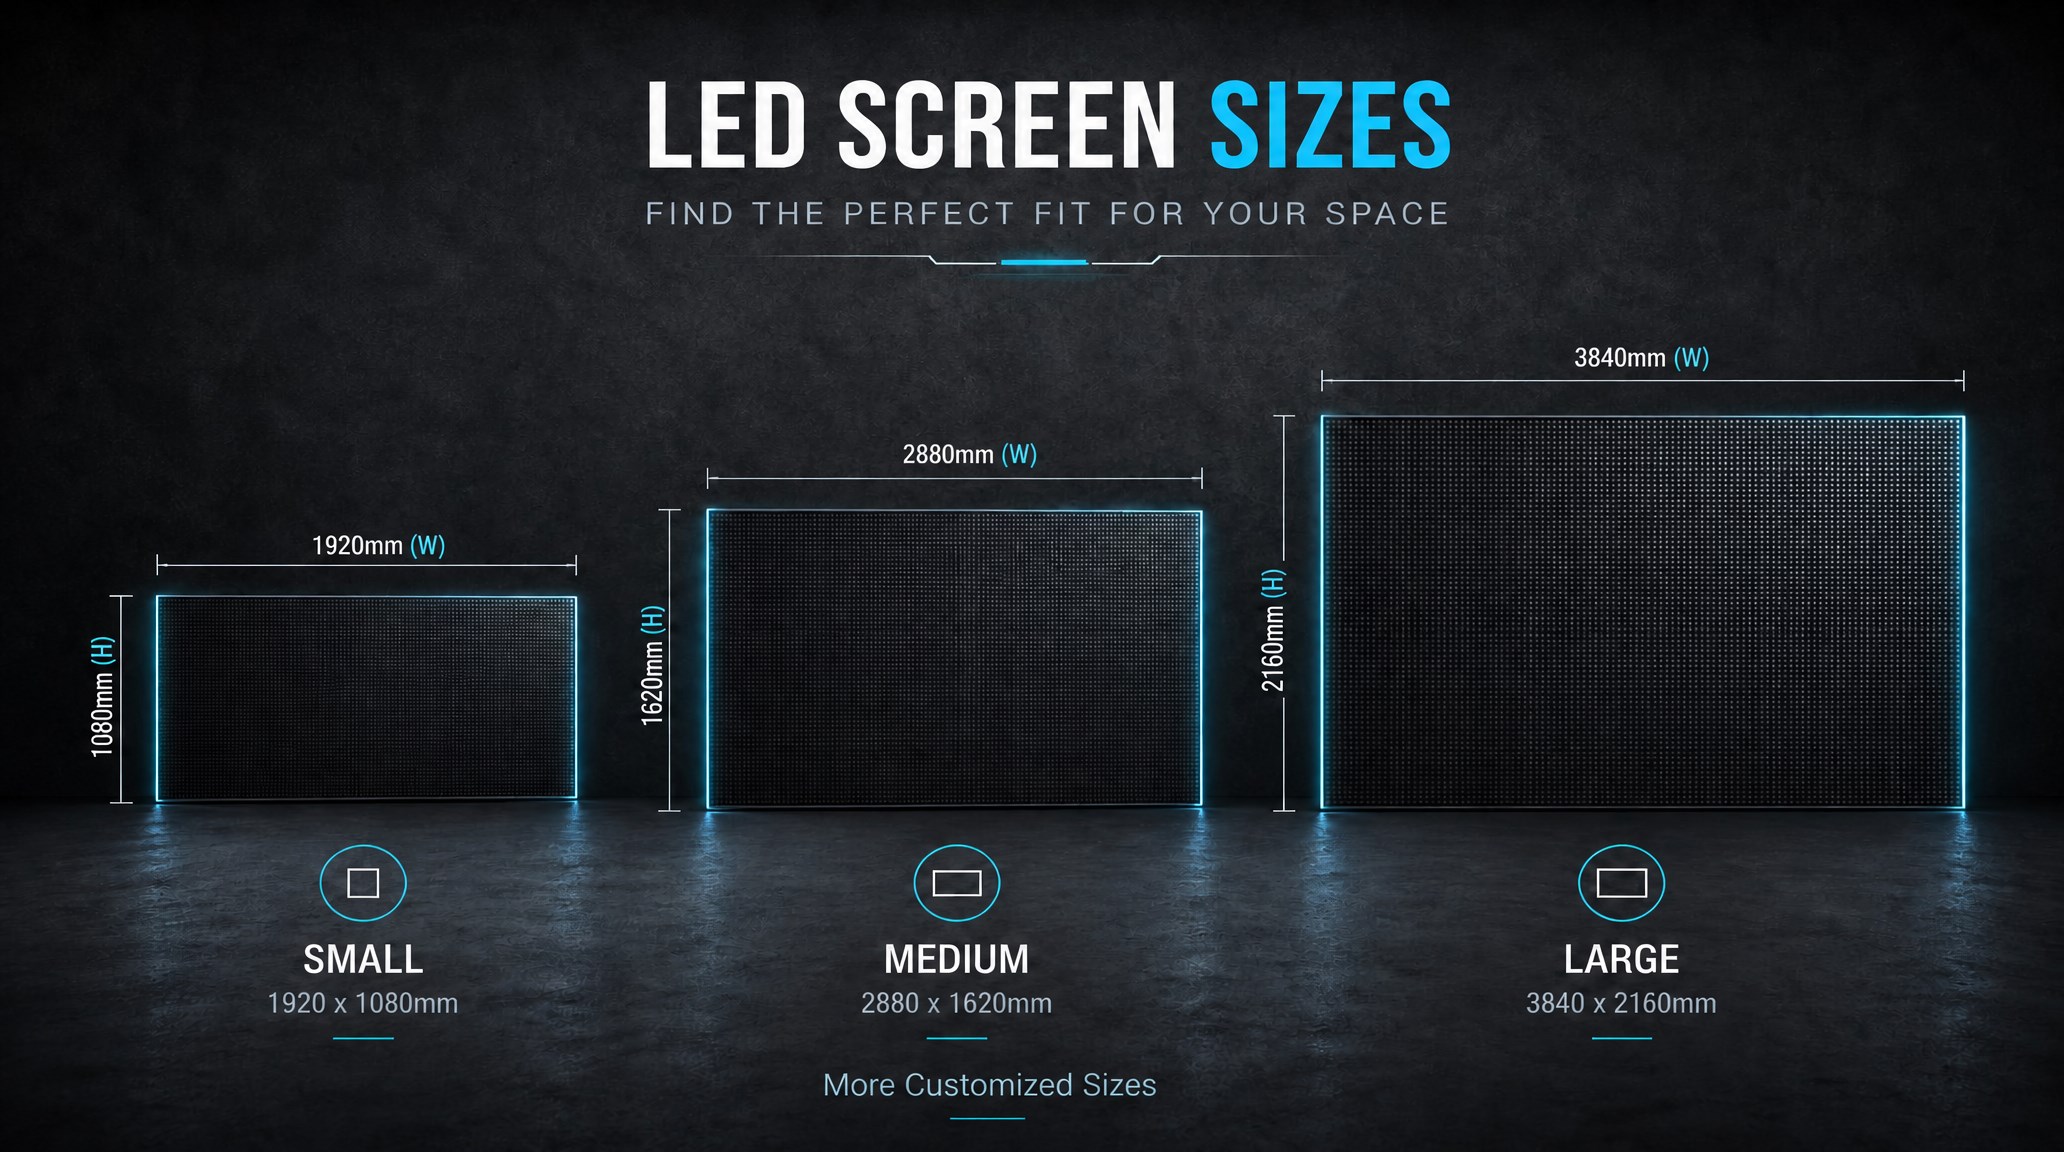
A practical guide explaining how to calculate LED display size, select pixel pitch, determine viewing distance, and choose suitable LED wall dimensions for commercial projects.
How to Choose the Right LED Display Size? Complete LED Screen Size Guide
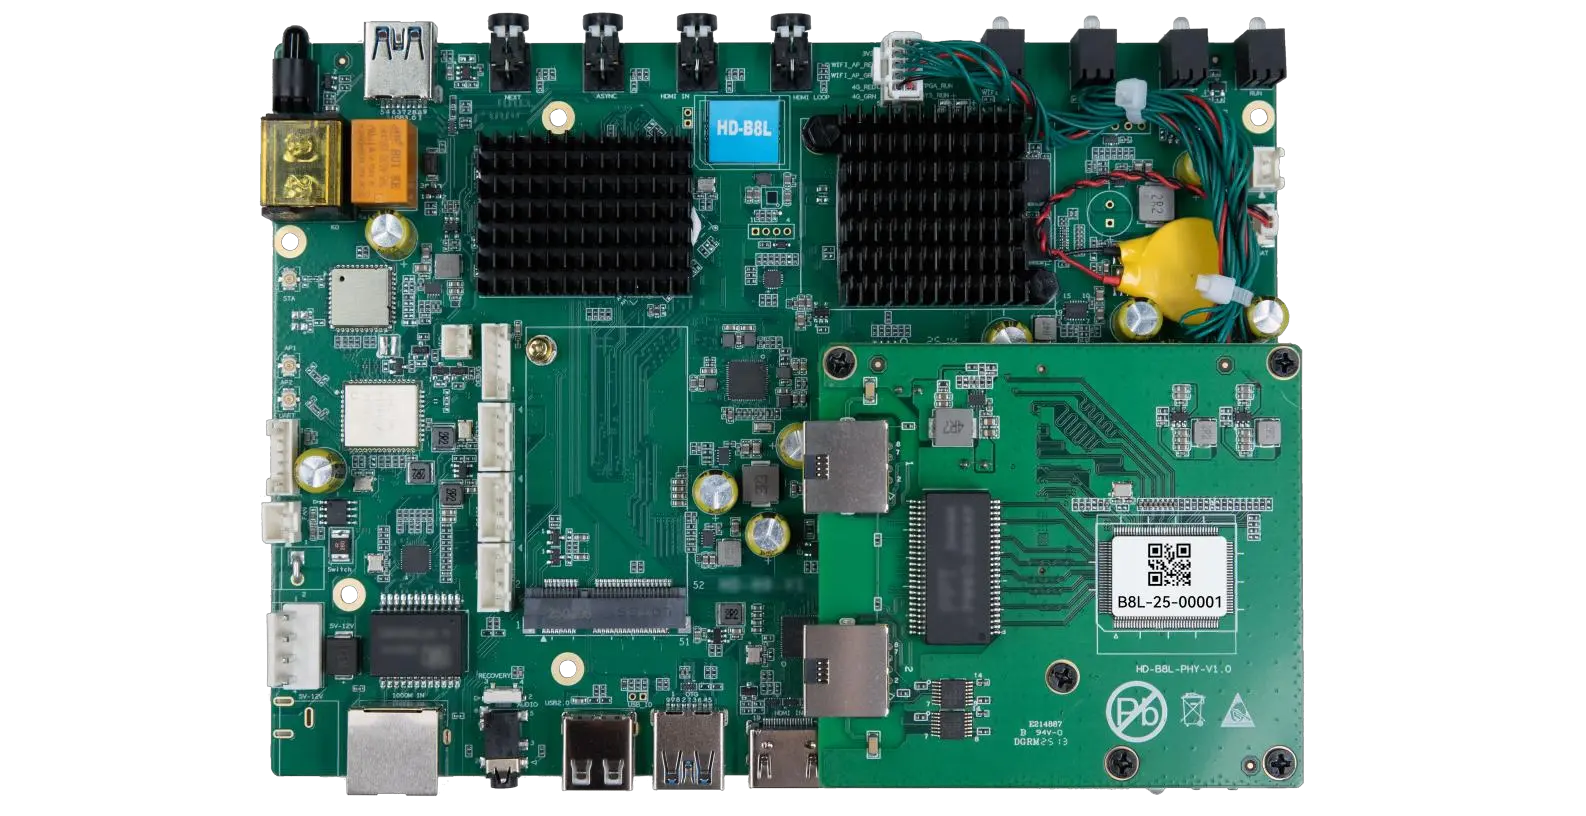
The HD-B8L Poster Screen Control System is an Android-based LED display controller designed for commercial LED poster displays and digital signage. It integrates media playback, asynchronous LED control, HDMI synchronization, network communication, and cloud management into one device, simplifying installation and centralized content management.
What Is the HD-B8L Poster Screen Control System? A Complete Technical Guide for Commercial LED Displays
Tell Us What Are You Looking For?